Plug Shop Theme Documentation
Description
Plug Shop is flat, simple and free WooCommerce WordPress theme, perfect for easy creation of online store. It is WooCommerce compatible, translation and SEO friendly and it comes with awesome Rolo Slider plugin but also with header media alternative for setting static image or video for site header. There is possability to set two banners on variety of shop pages for showcasing products or to use them as space for ads. Plug Shop aims on simplicity with flat and simple design. Theme options allows changing almost all theme colors, google fonts, setting left or right sidebar, and footer widgets are fully editable also.
You can download Plug Shop for free from pressfore.com but it should become available soon on wordpress.org:
Getting Started
To successfully run our theme on your WordPress installation we recommend a certain PHP version and configuration setting:
PHP 5.6.X OR HIGHER
We reccomend using PHP version 5.6.X OR HIGHER, but please note that Themes, Plugins and WordPress itself, are constantly improving, so it is always recommended to use hosting plan which is following WordPress recommendations.
Theme will certainly run on lower versions of PHP, but some plugins may not. For example, if you are planning to use it as shop theme as name suggests, then please check WooCommerce plugin requirements also, which are 5.6.X OR HIGHER and memory limit of at least 64MB but 128MB or higher is prefered (this may change in future).
How to check PHP version?You can install and activate WordPress phpinfo() plugin in order to check your server settings. Plugin can be installed from WP backend > Dashboard > plugins repository.
If your PHP version is lower than recommended please contact your hosting service provider to have them increase the PHP version on your server.
Helpful links:Importance of running newer PHP version: Keeping Current
Hosting providers recommended by the WordPress community: Hosting
Installing WordPress
If you've recently purchased a hosting plan and a domain name, the next step is to install WordPress on your server. Here are a few links to help you start your website's back-end and get your site ready for theme installation:
A step by step guide: Complete WordPress Installation Tutorial
If you plan to use the theme on a local installation and to migrate your site to live enviroment later on, this is a useful link that shows how to setup a local WordPress environment.
Installing The Theme
There are several ways for theme installation:
Automatic WordPress installation
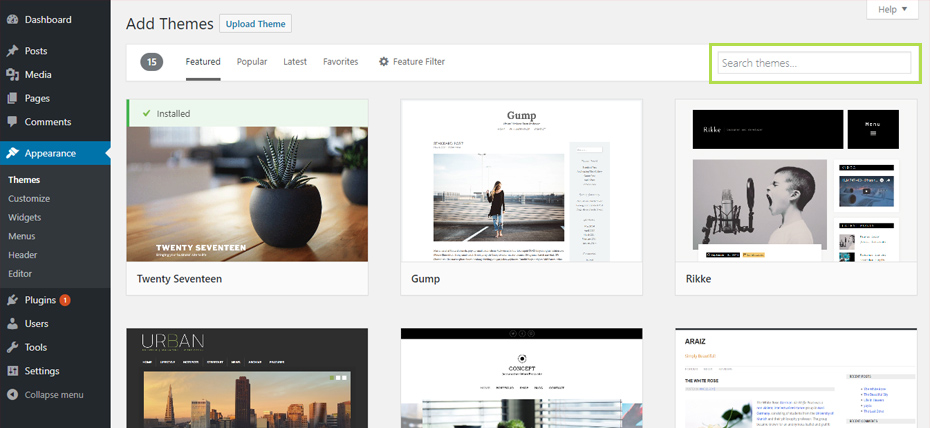
To install Theme automatically, from WordPress backend, navigate to Appearance > Themes > Add New, and search for the theme within WordPress repository:
Manual installation
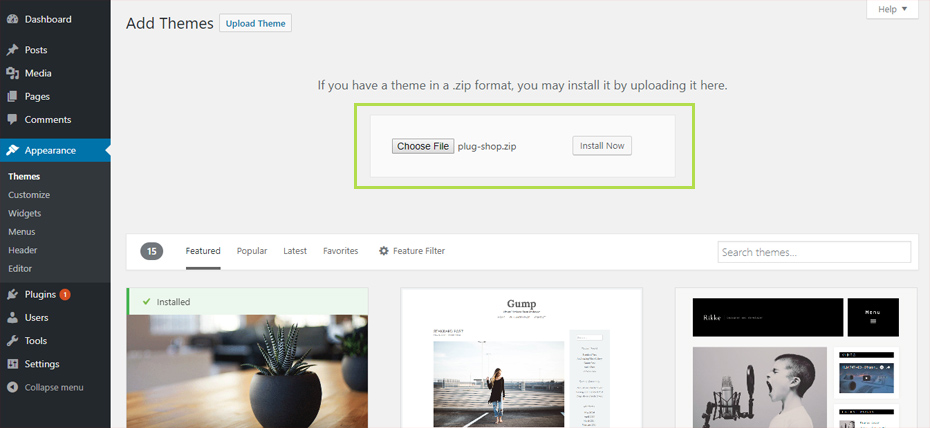
You can also install theme manually by downloading .zip file from WordPress.org and then from WordPress backend, navigate to Appearance > Themes > Add New > Upload Theme, select donwnloaded .zip arhive and click on Install Now:
FTP installation
To install Theme using FTP client software, first extract the .zip archive file (previously downlaoded from WordPress.org). After it is extracted you will see a folder named "plug-shop". Now connect to your server using your favorite FTP client, and navigate to /wp-content/themes/ directory (under your WordPress website's root location). Upload the "plug-shop" folder to the themes folder on your remote server.
After theme installation, from WordPress backend, navigate to Appearance > Themes, and activate Plug Shop theme.
Installing recommended plugins
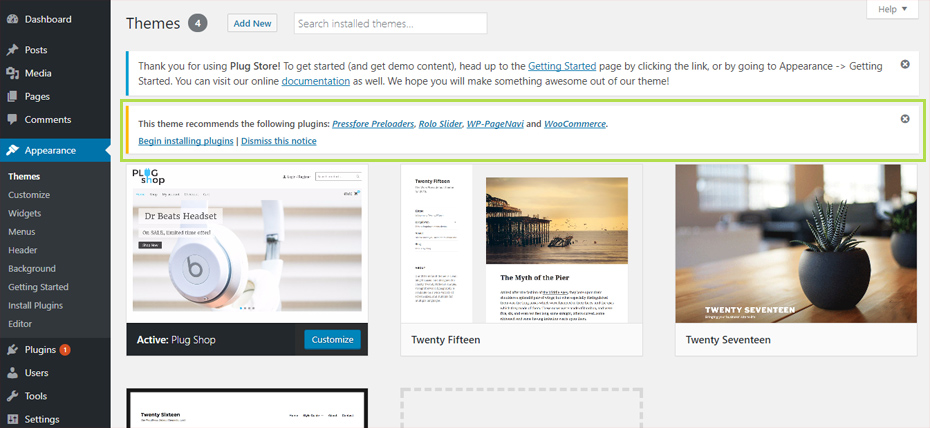
Upon theme activation, you will be presented with notice (dialog box at the top of the screen) which is suggesting installation of recommended plugins.
Note: If you dismiss the notice it will no longer appear, so if you did that, simply activate one of default WordPress themes and then activate Plug Shop theme again and notice will appear again.
It is strongly recommended to install all recommended plugins.
From the notice at the top you can easily install all reccomended plugins. Although plugins are not required, in order to be able to achieve same look and feel, like on our demo site, it is strongly recommended to install all recommended plugins.
This is the list of recommended plugins with links:
Installing additional plugins
Beside recommended plugins, again, in order to have everything like on demo website, you sould also install one additional plugin:
Contact form on our demo site is created with Contact Form 7, simple but flexible contact form plugin which allows managing multiple contact forms.
For instrutions on how to use and to configure contact form, please check Contact Form 7 documentation.
Since this is mainly shopping theme, if you are not familiar with WooCommerce, then please check plugin documentation.
Importing demo content
Note: In order to be able to import all demo content and to have same look like on our demo, it is important to have all recommended and additional plugins installed and activated.
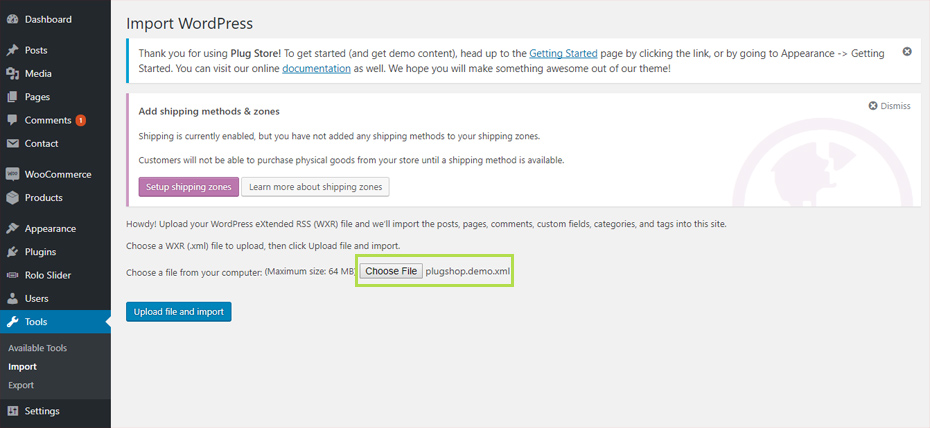
To import theme demo content, first download plugshop.demo.xml file to your PC by right clicking on the link and choosing Save link as...
After that, from WordPress back end, navigate to Tools > Import > WordPress, install and activate suggested WordPress importer plugin and choose previously downloaded XML file for import. Finally click on Upload file and import.
After successfully importing demo content, All done. Have fun! message should appear at the bottom of the screen.
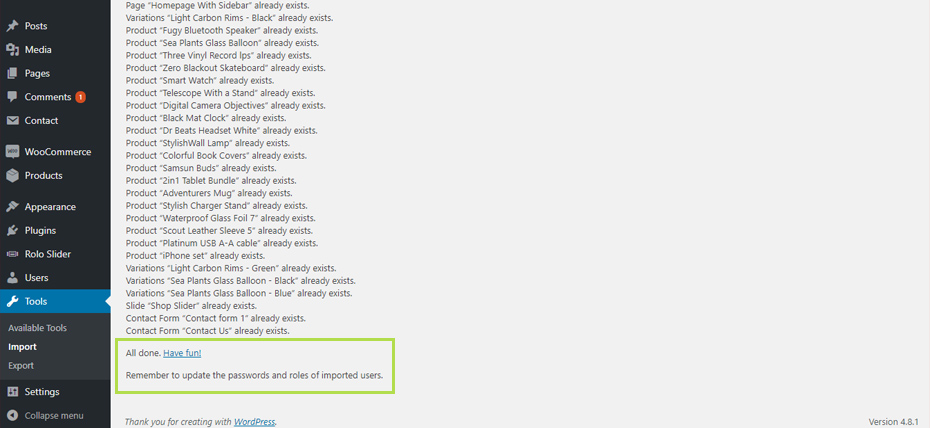
Note: Import process will need some time to complete (maybe up to 5 minutes), so please be patient. In case that import fails, and this could happen with cheaper hosting plans, with lower resources, simply repeat demo import few times until success message appears.
Adding Widgets
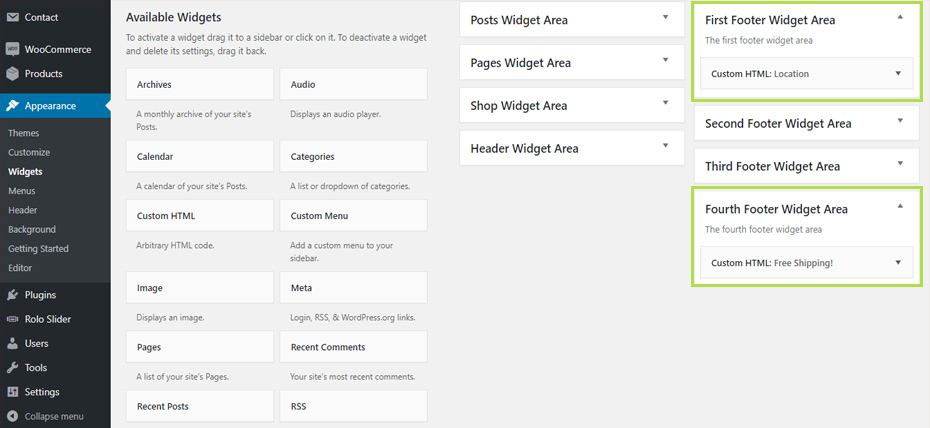
Importing demo content will not set any widgets, so we will explain in short avaialble widget areas and how to set some specific widget seen in theme demo. You can access widgets from WordPress backend > Appereance > Widgets.
Posts Widget Area shown only in Blog Posts, Archives, Categories, etc. Comonly used widgets for blog are Search, Recent posts, Archives, Categories...
Pages Widget Area shown only in Pages. Here you can also place widgets for posts, or maybe some specific widget from some plugin or custom content or text created with Text Widget or Custom HTML Widget.
Shop Widget Area shown only in WooCommerce pages and products. It is suitable for placing WooCommerce widgets like WooCommerce product search, WooCommerce top rated products, WooCommerce price filter etc.
Header Widget Area shown in header after the main menu (right corner), just before shopping cart. It should be used for placing some short content, like phone number, skype call, or some social icon. In theme demo we placed Skype call link, and we will cover that later on.
Footer Widget Areas. Plug Shop theme have four footer widget areas, and they can hold any widget or custom content. We will cover demo specific widgets in the next chapter.
Footer Widgets
Second and Third Footer Widget Areas contain standard WooCommerce widgets, but First and Fourth contain Custom HTML widgets, and we will cover how to recreate content inside if you want the same on your website.
Inside First widget area, add Custom HTML Widget, and inside of it paste following HTML code:
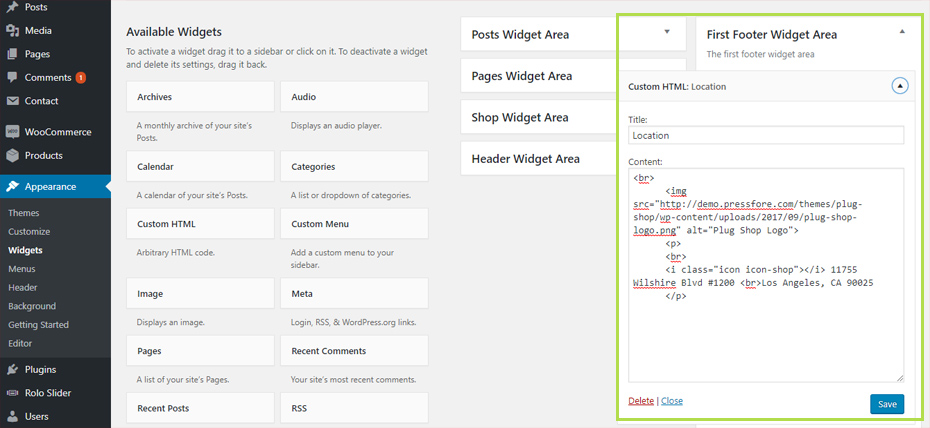
      <br>
      <img src="http://demo.pressfore.com/themes/plug-shop/wp-content/uploads/2017/09/plug-shop-logo.png" alt="Plug Shop Logo">
      <p>
      <br>
      <i class="icon icon-shop"></i> 11755 Wilshire Blvd #1200 <br>Los Angeles, CA 90025
      </p>
Of course, you will have to replace path to image src to your image, and to replace contact info with yours.
Inside Fourth widget area, add Custom HTML Widget, and inside of it paste following HTML code:
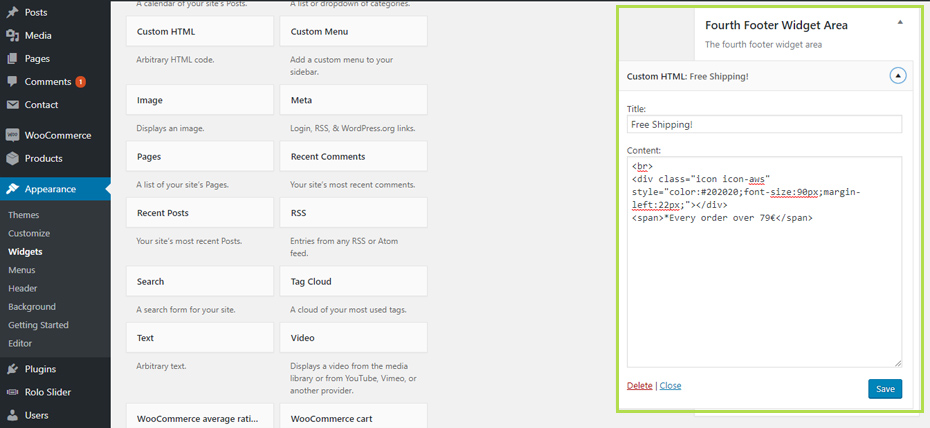
      <br>
      <div class="icon icon-aws" style="color:#202020;font-size:90px;margin-left:22px;"></div>
      <span>*Every order over 79€</span>
Here you can change style parameters to your liking, and text for free shipping.
Header Widget Area
This area also contain custom HTML code whihc will start Skype call on click. Add Custom HTML Widget to this area, and inside of it paste following HTML code:
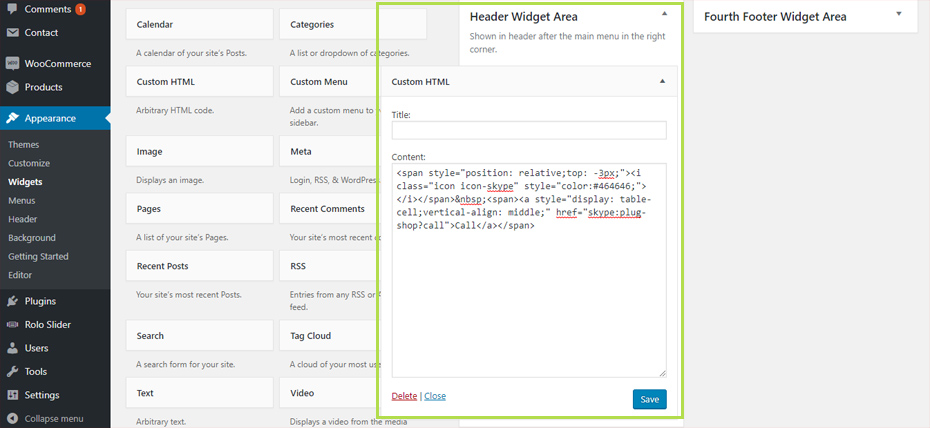
<span style="position: relative;top: -3px;"><i class="icon icon-skype" style="color:#464646;"></i></span> <span><a style="display: table-cell;vertical-align: middle;" href="skype:plug-shop?call">Call</a></span>
Here you need to change change href attribute skype:plug-shop?call and to set your Skype username instead of plug-shop. Helpfull reading How to create a HTML link that interacts with Skype.
Theme Icons
Icons used by the theme are from several iconic fonts cearfully choosen to suit theme needs, so to know which icons are availabel check icons reference. If you know a bit of HTML you can easily inspect icons classes and use them to style some elements with css or to add elements with desired icon class like we did when creating Skype link inside header widget area. Also, you can extend available fonts by creating your own set of icons with Fontastic, and overwrite existing font files inside wp-content\themes\plug-shop\assets\fonts, and also save css file over exisitng one on this location wp-content\themes\plug-shop\assets\css\pressfore-icons.css.
Finalizing demo import
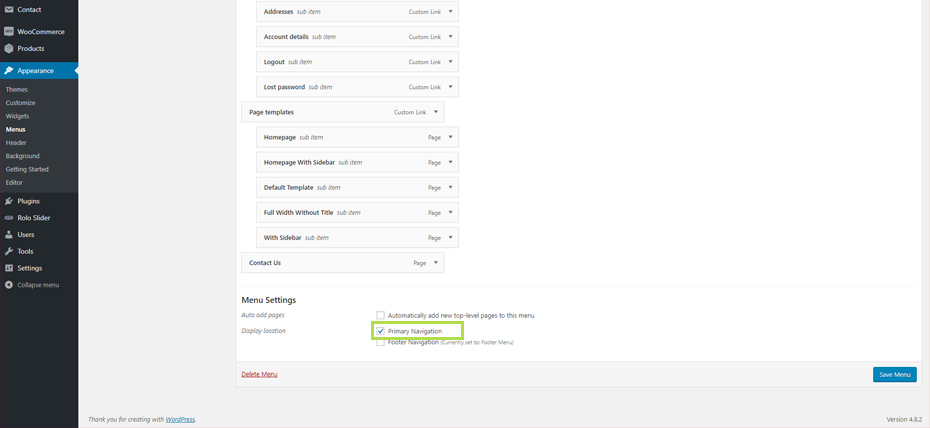
From Appereance > Menus create main menu for your site and assign it to Primaty Navigation location:
Do the same for footer menu, or assign same menu to footer if you want.
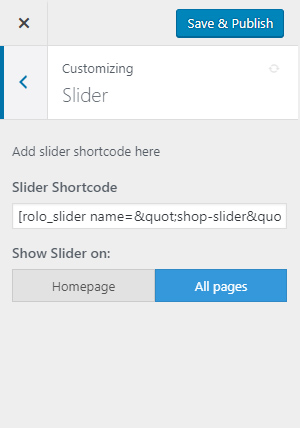
Next, navigate to Rolo Slider > All sliders and copy home slider shortcode. It should look like this:
[rolo_slider name="shop-slider"]Then, from Apperance > Customize > Slider, paste shortcode inside Slider shortcode field, and set it to be disaplyed on All pages or just on Homepage.
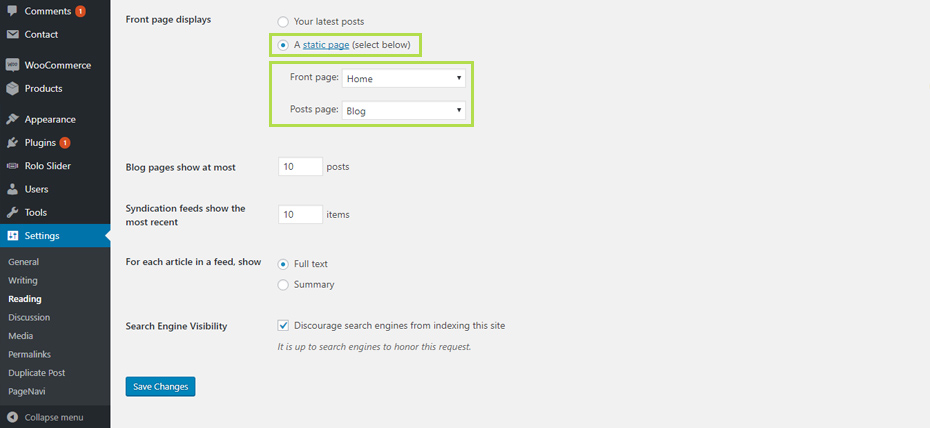
Finally, from Setting > Reading set home page to static page Home, and posts page to Blog in case that you want to have blog:
With this step you are all set, and only configuring colors and playing with theme options remains.
But, it is worth mentioning that home page, in order to display shop products needs to be set to use Homepage or Homepage With Sidebar template.
Page templates
As previously mentions theme have several predefined templates to use, and Homepage templates are for shop. Templates are self explanatory and we will just list available ones:
- Default Template
- Full Width Without Title
- Homepage
- Homepage With Sidebar
- With Sidebar
Theme Options
According to latest coding standards, for all themes on wordpress.org, theme options needs to be served through WordPress customizer, and this is the case here. You can access all options from WordPress backend > Appearance > Customize.
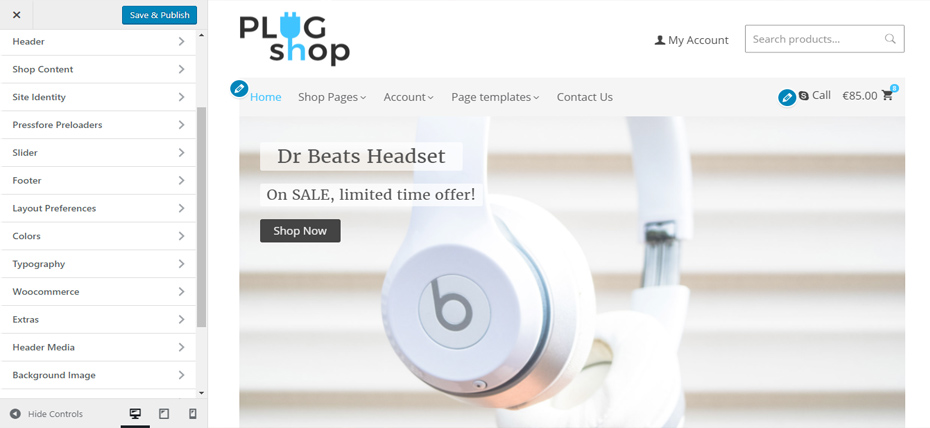
There are different accordions with different set of options in each one. Some of options are specific for this theme, and other are default ones which you can find in most themes. We will cover all theme options and for default ones please read more about Customizer Screen. All available options in Plug Shop theme are listed below:
- Header
- Shop Content
- Site Identity
- Pressfore Preloaders
- Slider
- Footer
- Layout Preferences
- Colors
- Typogrraphy
- Woocommerce
- Extras
- Header Media
- Background Image
- Menus
- Widgets
- Static Front Page
- Additional CSS
Header
Header area is important part of your website. Beside options for colors, setting logo height, important option is header position which allows positioning header area with logo and menu over slider or above slider.
Available options:
- Logo Height
- Header Position
- Header Background Color
- Navigation Background Color
- Menu Elements Color
- Submenu Elements Color
- Menu Elements Hover Color

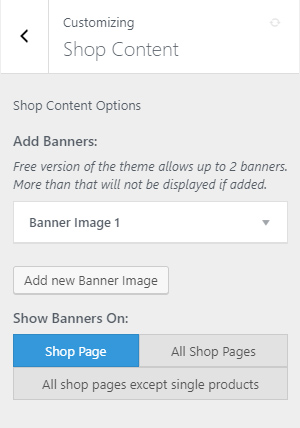
Shop Content
This option is extra feature for this theme and it allows adding of up to two banner images for product pages which can be linked or they can contain button with a link. They are suitable for featuring some products or for disaplaying some ads in a form of banner.
Available options:
- Banner image
- Image
- Button Text
- Banner URL
- Banner Height (px or em)
- Show Banners On
- Shop Page
- All Shop Pages
- All shop pages except single pages
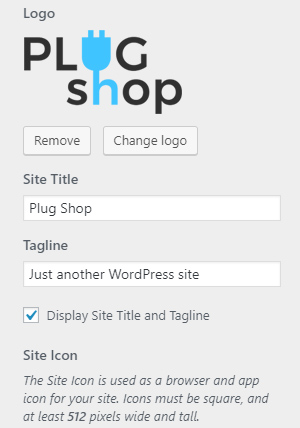
Site Identity
Beside standard options for setting Site title and Tagline, new option from WordPress version 4.3 is Site icon, and when used, site favicon will be set and all 3 icons will be created from a single image. Suggested file format is .png if transparency is needed, and suggested dimmension is 512 x 512 px. Most important option here is for setting logo image, which if set, will replace site title text.
Available options:
- Logo
- Site Title
- Tagline
- Site Icon
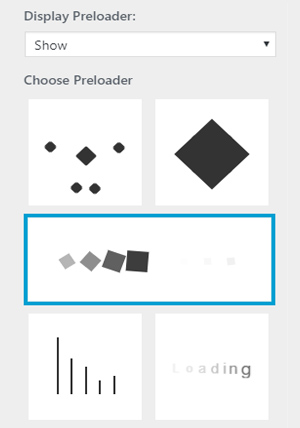
Pressfore Preloaders
When plugin is active, different preloading animation can be disaplyed every time when page or post is being loaded. Beside setting preloading animation, therea are also options for colors.
Available options:
- Display Preloader
- Choose Preloader
- Preloader Page Background Color
- Preloader Parts Color
- Show Preloader
Slider
Slider options are present for controling Rolo Slider if plugin is installed and activated. Beside filed for adding slider shortcode, you can show slider on home page only or on all pages.
Available options:
- Slider Shortcode
- Show Slider on Homepage or All pages
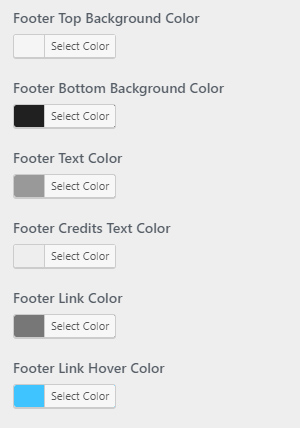
Footer
Backround and color options are available for footer top and footer copyright area.
Available options:
- Footer Top Background Color
- Footer Bottom Background Color
- Footer Text Color
- Footer Credits Text Color
- Footer Link Color
- Footer Link Hover Color
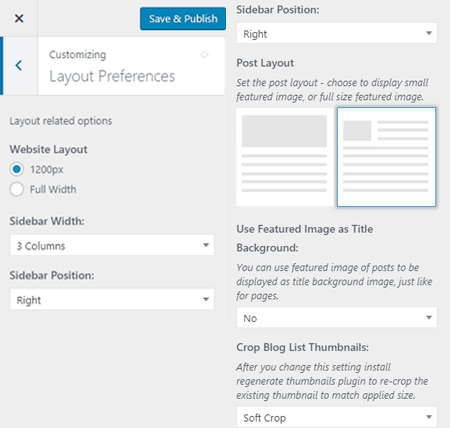
Layout Preferences
Layout options allow configuration of content width. You can set width of 1200px or Full Width. You can also position sidebar to the left or to the right hand side, and sidebar width can also be configured.
Note that if you are changing Crop Blog List Thumbnails option thumbnails needs to be regenerated with Regenerate Thumbnails or some similar plugin.
Available options:
- Website Layout
- Sidebar Width
- Sidebar Position
- Post Layout
- Use Featured Image as Title Background
- Crop Blog List Thumbnails
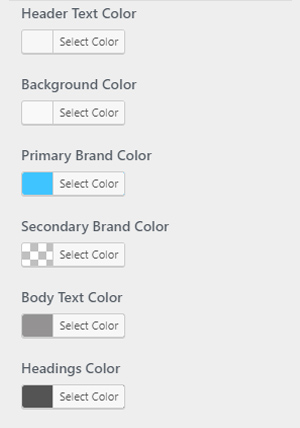
Colors
There are several important color options for adjusting color pallet according to your needs.
Note: that if you are changing Crop Blog List Thumbnails option thumbnails needs to be regenerated with Regenerate Thumbnails or some similar plugin.
Available options:
- Header Text Color
- Background Color
- Primary Brand Color
- Secondary Brand Color
- Body Text Color
- Headings Color
- Link Color
- Link Hover Color
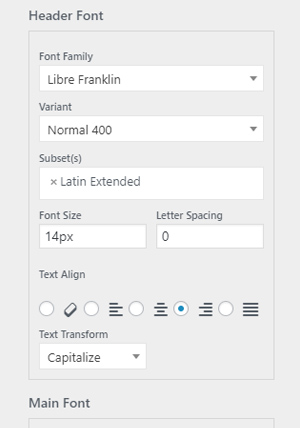
Typography
Website Typography allows choosing google fonts for header, content, and headings.
Options are available for following theme elements:
- Header Font
- Main Font
- Headings Font
with addition for:
- Font Family
- Variant (Font weight)
- Subset(s)
- Font Size
- Letter Spacing
- Text Align
- Text Transform
and:
- Line Height (only for Main Font)
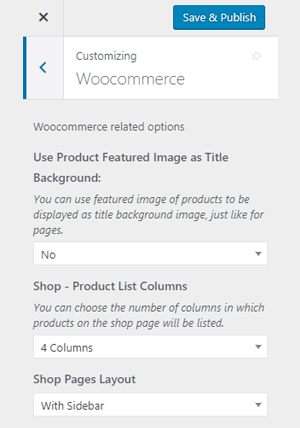
Woocommerce
If WooCommerce plugin is installed and in use, there are handy options which can be used like setting number of columns on shop page to 3 or 4 columns.
Note: if Product Featured Image option is enabled, original, uploaded full size image will be used, so it is important to use larger images for porducts feature images.
Available options:
- Use Product Featured Image as Title Background
- Shop - Product List Columns
- Shop Pages Layout
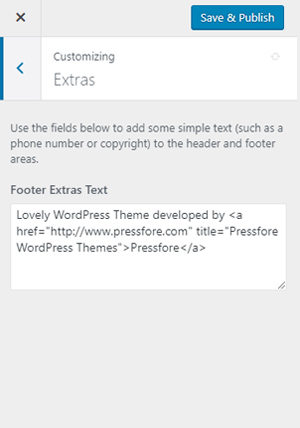
Extras
Field available in this section is for setting custom copyright text in footer bottom.
Available options:
- Footer Extras Text
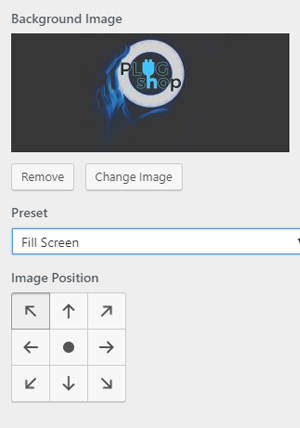
Background Image
Option allows setting of a background image.
Available options:
- Preset
- Image Position
- Image Size with boxes for repeat and scroll if custom preset is used
Copyright
Copyright © 2017 Pressfore