Green Ink Pro Theme Documentation
Description
GreenInk Pro Theme is actually Addon for GreenInk Theme which can be download for free on wordpress.org. There are many great features which can be used in Pro version, like additional widgets, header shopping cart, post formats, preloaders, uncovering footer, smooth scroll, more demo pages and much more. Here, we are going to cover all this great features and we will show you how to use them.
You can download Green Ink for free from wordpress.org:
GreenInk Pro Theme Addon can be obtained from pressfore.com:
Getting Started
Since we will focus here on Pro version features, for theme setup and getting started guide it is advisiable to read free theme version documnetation.
Installing Pro version
Note: Unzip downloaded archive first and install green-ink-pro.zip
As we already mentioned, pro version comes in a form of a plugin, after downloading green-ink-pro-files.zip file, you need to unzip it first since it contain documentation, xml export and instalation archive, and after that install plugin manually, like any other plugin. Plugin file is named green-ink-pro.zip so make sure that you are installing correct file.
Installation
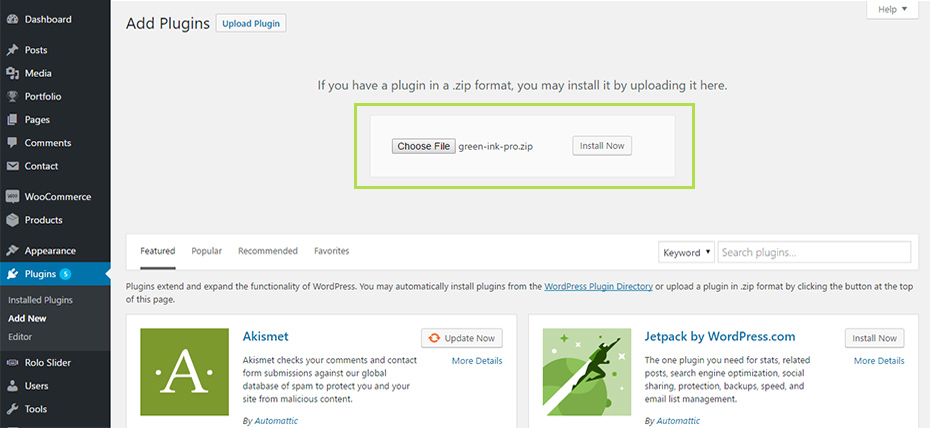
From WordPress backend, navigate to Appearance > Plugins > Add New > Upload Plugin, Choose File select green-ink-pro.zip and click Install Now:
Importing demo content
Note: If you already have demo content from free theme version on your site and would like to import a demo content from Pro version, you should be careful of the following:
- Before importing new demo, you should always navigate to Appearance > Menus and delete all imported menus (all menus that you did not create from scratch by yourself). If you don't do this your menus will duplicate on import.
- Demo pages which were changed will be overwritten on import, so you may lose changes, and it is wise to backup important content or even to create full backup.
- If you are planning to start from scratch with fresh demo conent, it is good practice to first clear your existing demo using the WordPress Database Reset plugin (please note that this plugin will clear all content, and revert your site to the point when you just installed a fresh copy of wordpress). If you are using multisite, please use this plugin carefully because it can reset all network installations.
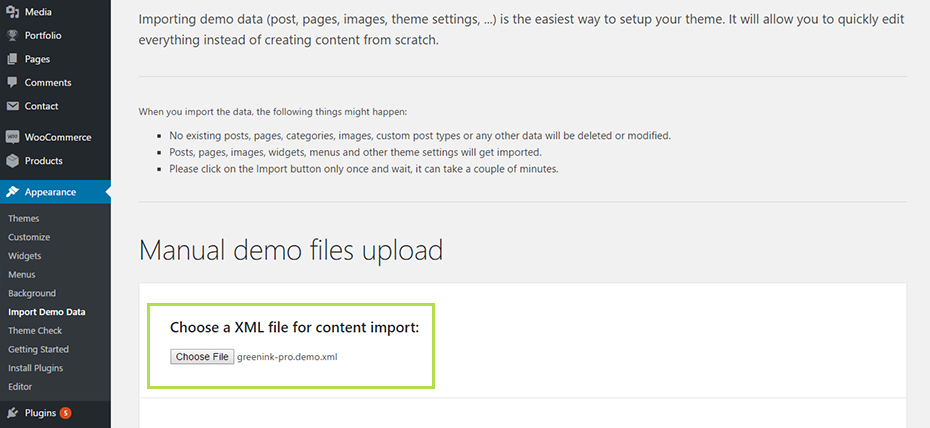
Note: To import Pro version demo content, use greenink-pro.demo.xml file which resides inside downloaded archive file.
From WordPress back end, navigate to Appereance > Import Demo Data, choose greenink-pro.demo.xml file for content import, and click on Import Demo Data.
After successfully importing demo content, That's it, all done! message should appear at the bottom of the screen.
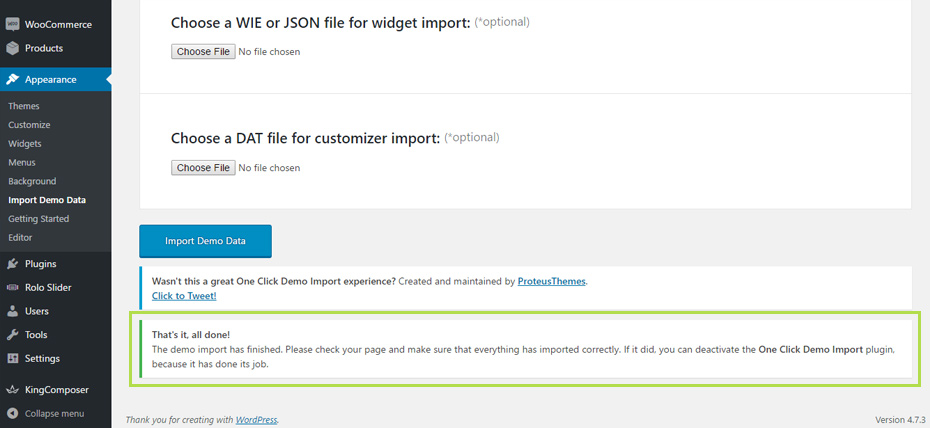
Note: Import process will need some time to complete (maybe up to 5 minutes), so please be patient. In case that import fails, and this could happen with cheaper hosting plans, with lower resources, simply repeat demo import few times until success message appears.
Pro version features
All GreenInk Pro version features are listed below, and we will cover each one later on:
- Widgets:
- Green Ink - About Me
- Green Ink - Cart Widget
- Green Ink - Recent Posts Widget
- Green Ink - Social Media Icons Widget
- Customizer options:
- Sticky Header
- 5 preloader animations
- Uncovering Footer
- Global sidebar option
- Blog options:
- Blog Page Layout (Standard, Masonry, Grid)
- Choose Blog List Columns (2, 3, 4 Columns)
- Show Posted On Field (Yes/No)
- Show After Post Meta (Yes/No)
- Show Single Post Meta (Yes/No)
- Boxed Layout Background Color
- Cart Icon for header widget (3 icons)
- Smooth Scroll
- Additional Options (per page):
- Select Custom Menu for main Menu
- Smooth Scroll
- Disable Header
- Disable Footer
- Special functionality:
- Mega Menu
- Submenu Width
- Menu Anchor Scroll
- Menu Auto List Posts / Products
- Dynamic template extended
Widgets
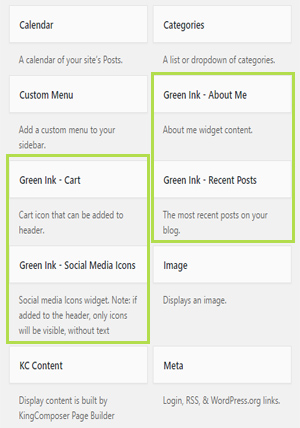
Widgets can be accessed from WordPress backend → Appearance → Widgets.
Green Ink - About Me is for displaying author image, name and description. Available fields are as follows: Title, Author Name, Author Image, Description.
Green Ink - Cart is for displaying WooCommerce DropDown cart inside header widget area. Widget itself don't have any options, but one of 3 icons which user can set for this widget are availabel from Appearance → Customize → WooCommerce.
Green Ink - Recent Posts widget is for disaplying reacent posts with some addiitonal options compared to default WordPress widget. Available options are Title, number of posts (Show up to X posts), Order, Orderby, Display post category, Display post author, Display Date.
Green Ink - Social Media Icons widget will disaply icon and text next to it, and beside option for setting title for this widget, following social media icons and fields for setting URL-s are available: Facebook, Twitter, Instagram, Linkedin, Google+, YouTube, Pinterest, Dribble.
Customizer Options
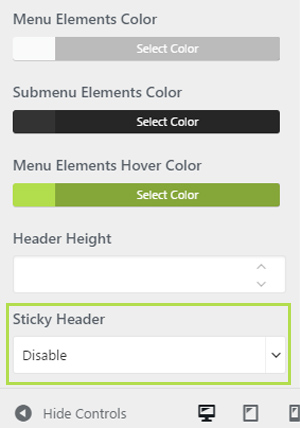
Sticky Header
Option is available from Appearance → Customize → Header.
Available options:
- Disable / Enable
5 preloader animations
Addiitonal preloading animations can be configured from Appearance → Customize → Preloader.
Available animations:
- Default
- Cubes
- Squares
- Equalizers
- Atom
- Circles
Uncovering Footer
Option can be accessed from Appearance → Customize → Footer
Only option is Enable Uncovering Footer and it can be set to Enable or Disable.
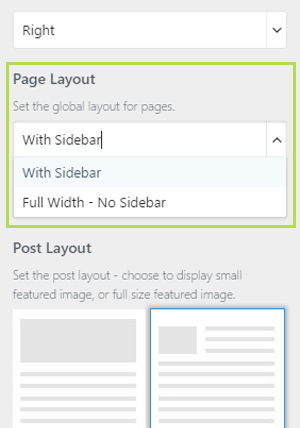
Global sidebar option
In order to configure sidebar globally, navigate to Appearance → Customize → Layout Preferences and from Page Layout set the global layout for pages: With Sidebar or Full Width - No Sidebar.
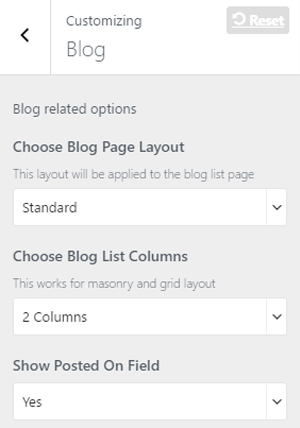
Blog options
Set of options for blog is addiiton to already existing set of Customizer options. Access blog options from Appearance → Customize → Blog.
Available options:
- Blog Page Layout (Standard, Masonry, Grid)
- Choose Blog List Columns (2, 3, 4 Columns)
- Show Posted On Field (Yes/No)
- Show After Post Meta (Yes/No)
- Show Single Post Meta (Yes/No)
Boxed Layout Background
Background color for boxed layout can be set from Appearance → Customize → Colors.
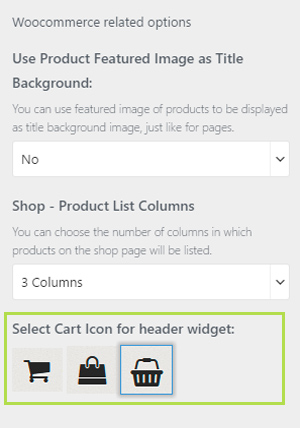
Cart Icon for header
If you have placed Green Ink - Cart Widget inside Header Widget area there is also option for choosing one of three different cart icons, and you can do that from Appearance → Customize → WooCommerce.
Available options:
- Shopping cart
- Shopping bag
- Shopping basket
Note: After changing cart icon it will be refreshed after adding or removing item from cart because of AJAX.
Smooth Scroll
It is possible to enable smooth scrolling script from Appearance → Customize → Extras → Smooth Scroll.
Note: If you are using some plugin which is also using some smooth scrolling script, please disable in theme smooth scrolling option.
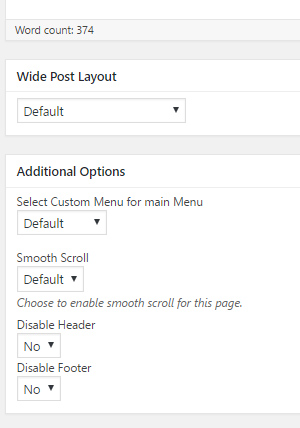
Additional Options (per page)
These options can be found when editing posts and pages, and they will be applied only on current post / page. Set of options is organized under Additional Options and they are as follows:
- Select Custom Menu for main Menu (Default or choosen menu)
- Smooth Scroll (Default, Enable, Disable)
- Disable Header (Yes, No)
- Disable Footer (Yes, No)
As you can guess already, very hendfull options here are for choosing different menu fo some page or to disable header or footer.
Special functionality
There are some special theme features which you cannot know that they exist until explained like Mega Menu, Menu scrolling to funtionality, auto listing Posts and Shop items from specified category and Dynamic template for listing all post types.
Mega Menu
To initialize Mega menu
01 For 1st levle menu item which will initialize mega menu, it is important to check Use As Megamenu check box:
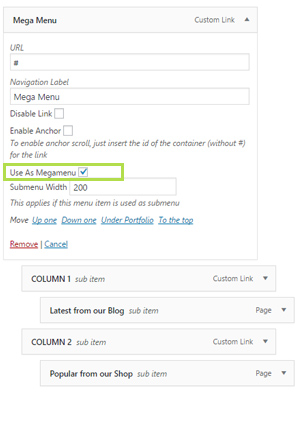
02 It is important to create menu structure where you will have one 1st levle menu item, and at lease one 2nd level menu item, but you can also set 3rd level menu items as shown above. It is very important to save menu when you set it like this in order to initialize mega menu options and to be able to see additional options for sub menu items.
One of important options upon setting Mega Menu is possability to automatically listing Posts or Shop items from specified category:

Submenu Width
As you already saw on images above, for each 1st level menu, you can set value for Submenu Width and it will applied if menu item is used as submenu.
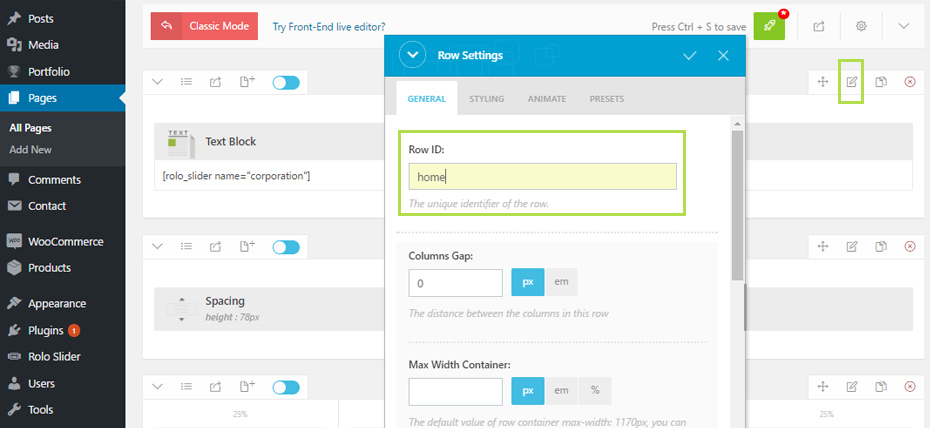
Menu Anchor Scroll
For setting menu scroll to functionality, it is important to have defined IDs for each section and these IDs will serve as anchors. Also it is important to know that they need to be unique. To set section ID, enter section settings and type in unique row ID.
Next step is to set menu link as anchor so clicking on it will scroll to corresponding section. To do that, from Appearance → Menus create custom link, check box next to Enable Anchor and into URL field type in desired row ID which you have previously set for some section on the page. On image below we hav set anchor for our first section so when user scroll down the page clicking on home link will scroll back to top.
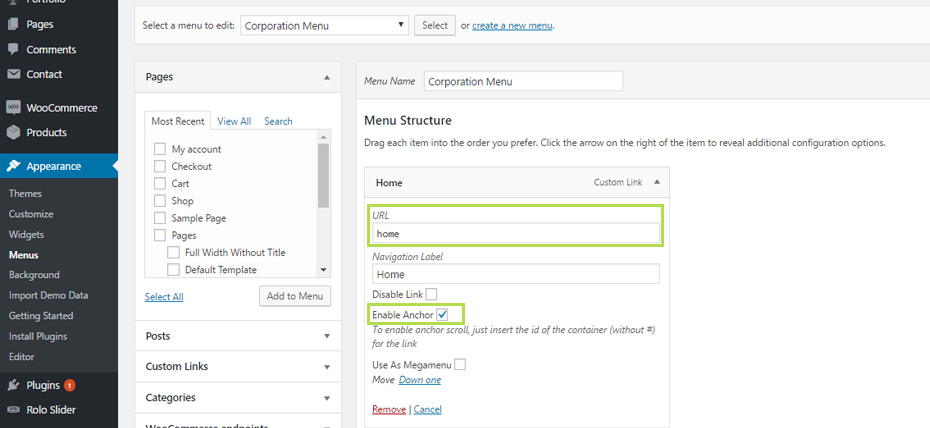
By following this approach, anchor links can be set for other menu items, so users can scroll to different sections when clicking on menu items. See one page demo in action - Corporation Demo.
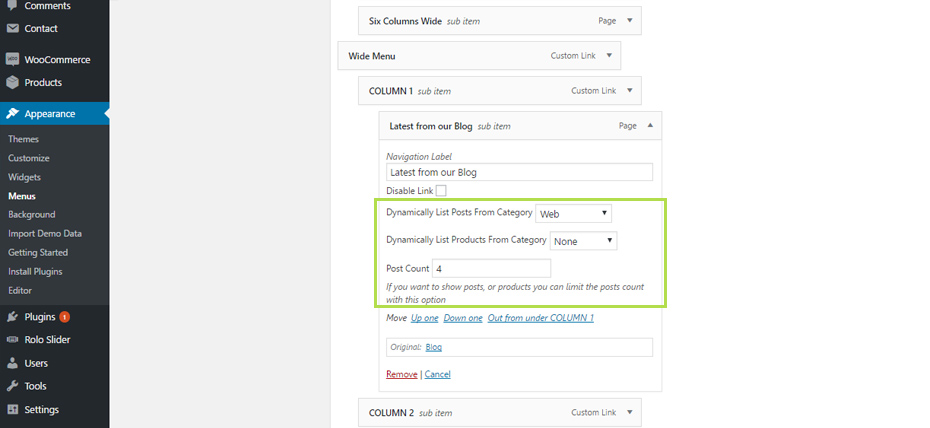
Menu Auto List Posts / Products
This fnctionality is available for sub menu items, and it is especially usefull inside mega menu. Dynamic content for posts or shop items can be listed from specified category, and also amount of posts can be controlled.
Dynamic template extended
Choosing Dynamic template in free version allows listing of portfolio items. With pro version, choosing this template would mean that you can list any available post type within in built layout options. After choosing Dynamic Template, new meta box will appear which allows very poverfull options for listing desired post type:

Post type rendering options allows following setup:
- Drop down for selecting post type
- Post Type Layout (Inherit From Global Option, Standard, Masonry, Grid)
- Columns (Default, 1, 2, 3, 4)
- Include Sidebar (Default, Full Width, Left Sidebar, Right Sidebar)
With this functionality it is very easy to list any post type inside one of themes predefined layouts.
Copyright
Copyright © 2017 Pressfore